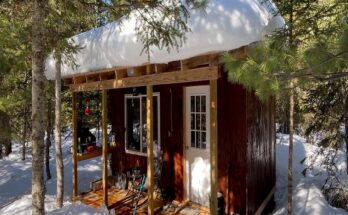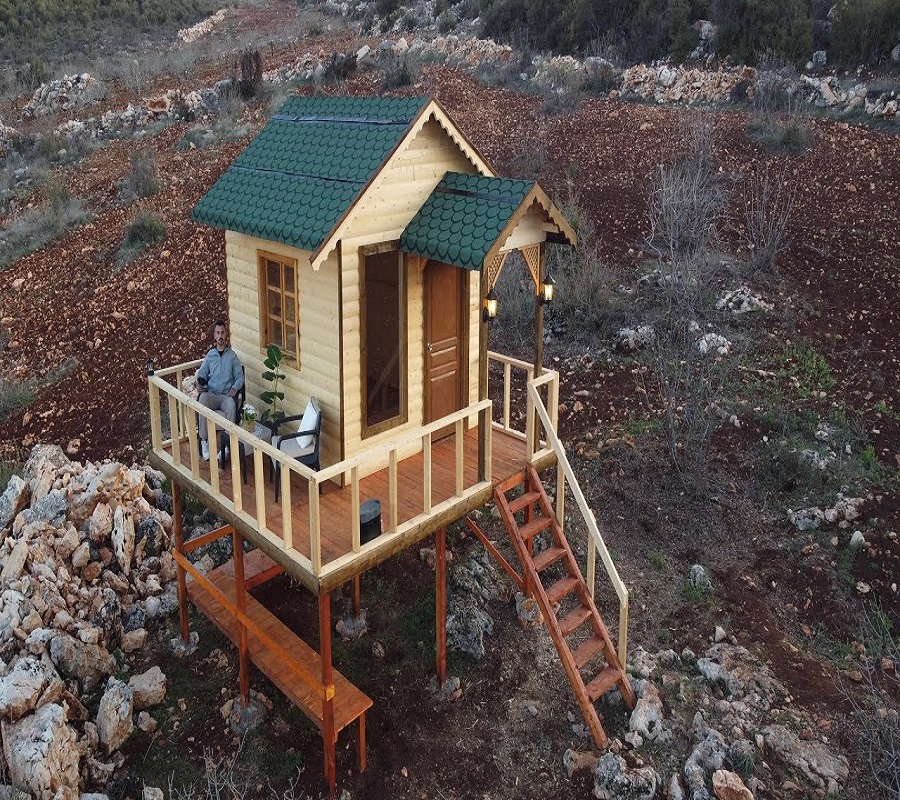
Building a Wooden House Alone in 20 Days: A Solo Adventure in Construction
Building a wooden house is a monumental task under any circumstances, but constructing one alone in just 20 days is an ambitious challenge. Whether you’re looking to test your skills or fulfill a long-held dream of self-sufficiency, this project is a test of endurance, resourcefulness, and perseverance. However, with careful planning, the right materials, and a clear vision, it’s possible to build a basic wooden house from the ground up in just 20 days.
Day 1-3: Laying the Groundwork
The first three days are all about preparation. A successful build starts with a solid foundation, and this is a crucial step in the process. You’ll begin by clearing the land, ensuring that the area is level and free of debris. Marking out the dimensions of your future house will be essential, as it guides the entire project. If you’re building on a concrete slab, you’ll need to lay this foundation first, ensuring it’s level and properly cured.
Once the foundation is set, the next step is building the floor system. If you’re constructing a platform house, using pressure-treated lumber for the beams and joists will prevent future decay. With the floor system in place, it’s time to lay down the decking. The work is physically demanding but manageable if you stay organized and work methodically.
Day 4-7: Building the Frame
With the floor system in place, the next phase of construction involves erecting the walls and framing the structure. This is where the house begins to take shape. Start by measuring and cutting the studs for the walls. The key to building efficiently here is precision—incorrect cuts or measurements can lead to structural issues down the line.
Given that you’re working alone, you’ll need a method for lifting and securing the walls. Using a temporary brace or a lifting mechanism like a pulley system can help ease the strain. Work one wall at a time, ensuring that each is square and plumb before securing it in place.
As you frame the walls, include window and door openings. If you plan to install windows and doors later, leave the rough openings larger to accommodate them. Building the frame is the most time-consuming aspect of construction, but it’s also the most rewarding when you begin to see the structure of your home take form.
Day 8-12: Roofing and Installing Trusses
Once the walls are up, you’ll need to turn your attention to the roof. The roof design will depend on your aesthetic and functional needs, but for simplicity and speed, a gable roof is often the best choice for beginners.
On days 8 through 12, focus on building and installing the trusses. Pre-fabricated trusses can help speed up the process, but if you’re building them from scratch, it’s essential to follow safety guidelines and structural standards. Assembling trusses alone can be tricky, so it’s advisable to use scaffolding or a sturdy ladder to help you position the trusses into place.
Once the trusses are installed, you’ll need to cover the structure with roofing material. Asphalt shingles, metal panels, or even plywood can be used depending on your preferences and budget. Make sure to waterproof the roof with proper underlayment to protect your home from the elements.
Day 13-17: Installing Windows, Doors, and Siding
With the roof finished, the next task is installing windows and doors. This is a crucial step in sealing the house from weather conditions. Using high-quality weatherstripping or caulk to seal the openings will help with insulation and reduce drafts.
While windows and doors are being installed, you can start on the siding. This is one of the most time-consuming tasks, especially when working solo. If you’re using wooden siding, ensure it’s treated to resist rot and insects. Be sure to apply the siding in rows, making sure each layer overlaps the previous one to prevent water from seeping in.
Day 18-19: Interior Work
In the final days of your build, it’s time to focus on the interior. This may include installing basic flooring, insulation, and possibly drywall if you’re planning to finish the interior. You can use plywood or hardwood flooring for a rustic look, or vinyl planks for easier installation.
At this stage, you’ll also want to take care of basic electrical and plumbing systems if they are required. However, depending on your skill level, you may want to hire professionals for these tasks to ensure safety and compliance with local codes.
Day 20: Final Touches
The final day is all about wrapping up the project. This includes installing any final trim, painting or staining the wood, and adding finishing touches such as door hardware or cabinet installations. By the end of the day, you’ll have a fully constructed wooden house.
Conclusion: A Rewarding Achievement
Building a wooden house in just 20 days is an intense yet rewarding challenge that requires not only physical strength but also mental toughness. It’s essential to stay focused, work efficiently, and use time wisely. While the timeline might seem tight, with the right planning, tools, and materials, you can create a lasting, functional home that reflects your hard work and dedication. Whether you’re embarking on this journey for personal fulfillment or as a test of skill, the pride that comes from completing a wooden house on your own is unparalleled.