Building a wooden frame house is a rewarding project that combines craftsmanship, planning, and a bit of elbow grease. Whether you’re constructing a cozy cabin or a family home, understanding the process is key to success. Here’s a step-by-step guide to assembling a wooden frame house, tailored for beginners with a hands-on approach.
Step 1: Planning and Preparation
Before you swing a hammer, thorough planning is essential. Start by obtaining blueprints or designing your house layout, ensuring it meets local building codes. Secure necessary permits from your municipality—skipping this can lead to costly delays. Next, gather your materials: pre-cut lumber (typically 2×4 or 2×6 boards), nails, screws, a level, a tape measure, a circular saw, and a framing hammer. Safety gear like gloves, goggles, and a hard hat are non-negotiable. Finally, choose a flat, well-drained site and prepare a solid foundation—usually a concrete slab or pier-and-beam system—before framing begins.
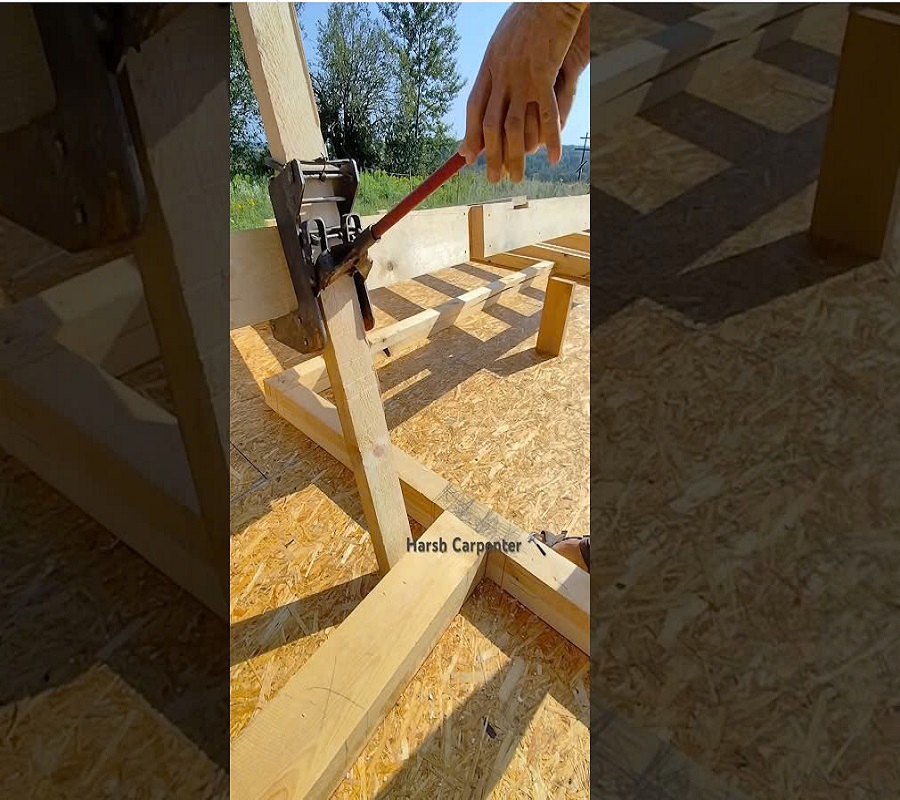
Step 2: Constructing the Floor Frame
The floor frame is your house’s base, so precision matters. Lay out pressure-treated sill plates (the bottom wooden pieces) along the foundation’s perimeter, securing them with anchor bolts. Then, install floor joists—horizontal supports—typically spaced 16 inches apart, ensuring they’re level. Cover the joists with plywood subflooring, nailing it down securely. Double-check with a level; an uneven floor will haunt you later.
Step 3: Building the Wall Frames
Walls are the skeleton of your wooden frame house. On a flat surface (like the subfloor), assemble each wall section. Start with the bottom plate and top plate, then attach vertical studs every 16 or 24 inches, depending on your design. Use a framing square to ensure 90-degree corners. Include openings for doors and windows by adding headers (horizontal supports above openings) and cripple studs (short supports around them). Once a section is built, raise it into place, plumb it with a level, and brace it temporarily with diagonal supports. Secure the bottom plate to the floor frame with nails or screws.
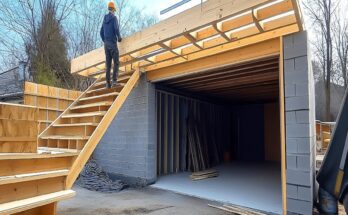
Step 4: Assembling the Roof Frame
With walls up, it’s time for the roof. Simple gable roofs are common for beginners. Install a ridge board (the roof’s peak) supported by temporary posts. Then, attach rafters—sloped beams—from the ridge board to the top plates of the walls. Space rafters 16 or 24 inches apart and cut their ends to match the roof pitch (e.g., 4:12 or 6:12). Reinforce with collar ties or ceiling joists for stability. Once framed, cover the rafters with plywood sheathing, leaving space for ventilation or skylights if planned.
Step 5: Final Touches and Inspection
With the frame complete, add exterior sheathing (usually plywood or OSB) to the walls for rigidity. Install temporary weatherproofing, like tarps, until windows, doors, and siding are added. Before proceeding, inspect your work—or hire a professional—to ensure it’s square, level, and code-compliant. Mistakes at this stage are easier to fix before plumbing, electrical, and insulation are installed.