There’s something deeply satisfying about building something with your own two hands, and for me, that satisfaction came from constructing my own tiny house—technically a shed, but one that now serves as a cozy, functional living space. The journey wasn’t easy, and it took me seven months of hard work, problem-solving, and learning on the fly, but in the end, I had a structure I was truly proud of.
The Inspiration Behind the Project
I had always been fascinated by the tiny house movement. The idea of creating an efficient, minimalistic space that met my needs while keeping costs low was incredibly appealing. But with limited construction experience and a budget that didn’t allow for hiring professionals, I knew I had to take on this project myself.
I started by researching shed-to-home conversions, watching YouTube tutorials, and gathering advice from online forums. I wanted to keep things simple yet functional, with enough space for a sleeping area, a small kitchen, and a workspace.
The Planning and Design Stage
Before breaking ground, I spent about a month finalizing my design and gathering materials. I opted for a 12×16-foot structure—small enough to be manageable but large enough to live in comfortably.
Key considerations included:
- Foundation: I chose a gravel base with concrete blocks to keep costs low while ensuring stability.
- Framing: I used standard 2×4 lumber for the walls and roof, following conventional building techniques.
- Insulation and Ventilation: Since I planned to use the space year-round, I invested in good insulation and added windows for natural ventilation.
The Construction Process
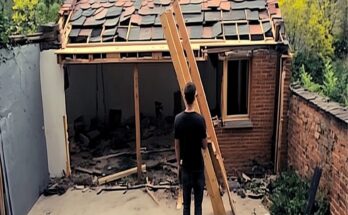
Month 1-2: Foundation and Framing
Laying the foundation was straightforward but time-consuming. I had to make sure the gravel was level before placing the concrete blocks. Once the foundation was set, I moved on to framing. This stage was both exciting and exhausting. Lifting and securing walls by myself was a challenge, but I used temporary bracing to keep everything in place.
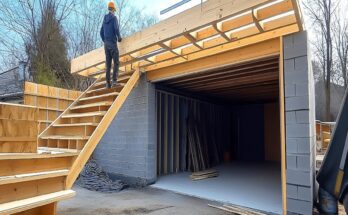
Month 3-4: Roofing and Exterior Work
The roof was particularly tough since I had to climb and balance while installing rafters and panels. I chose metal roofing for its durability. After that, I installed siding and painted the exterior to give it a finished look.
Month 5-6: Interior Work
With the structure in place, I moved on to insulation and interior paneling. I opted for spray foam insulation for its efficiency and covered the walls with plywood for a rustic, cabin-like feel. Then came the flooring—I used laminate planks for easy maintenance.
Month 7: Final Touches
The last month was dedicated to making the space livable. I installed shelves, a fold-down desk, and a compact kitchenette. Lighting was a mix of solar-powered LEDs and battery-operated fixtures. Though I kept things simple, every element was chosen with care to maximize space and function.
Lessons Learned
- Patience is key. Everything took longer than expected, from waiting for materials to troubleshooting mistakes.
- Don’t skimp on planning. A solid plan made each step smoother, saving time and effort.
- Flexibility is essential. I had to adjust my design and approach multiple times as I encountered unforeseen challenges.
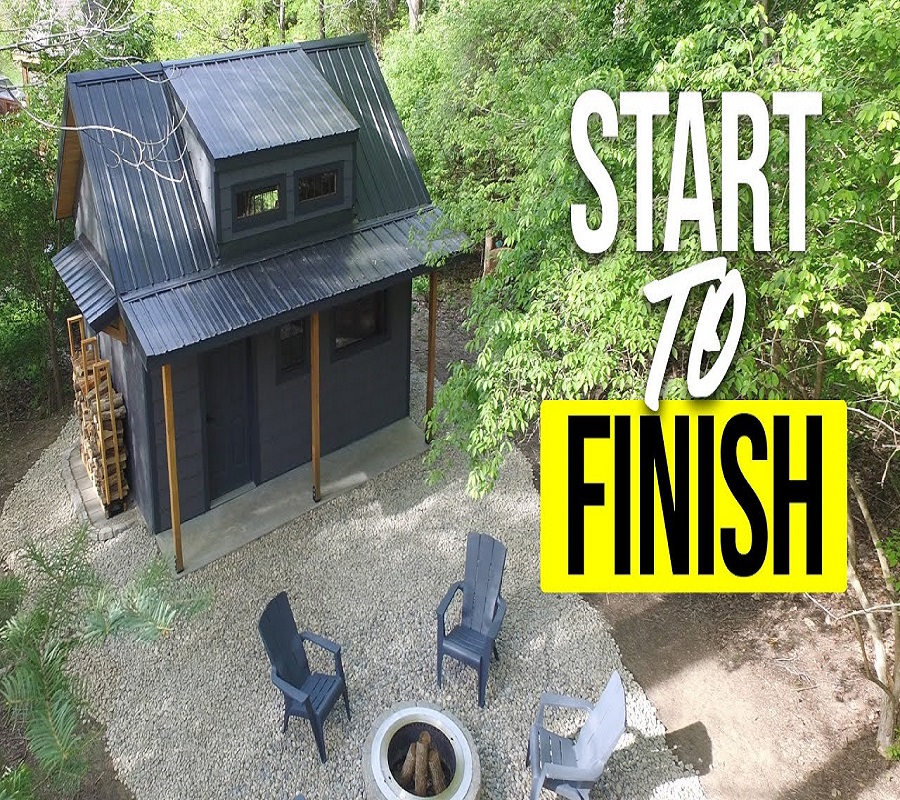
The Final Result
After seven months, I had a fully functional tiny house that felt like home. The journey was filled with sweat, setbacks, and triumphs, but the satisfaction of building it myself made it all worthwhile.
Would I do it again? Absolutely—but maybe with a little extra help next time!