Building a Small Wooden House: A Step-by-Step Guide
A small wooden house is an excellent choice for those looking to build an eco-friendly, cost-effective, and cozy dwelling. Whether for personal use, as a vacation retreat, or a guesthouse, a wooden house offers charm and simplicity. Here’s a step-by-step guide to help you build your own small wooden house.
Step 1: Planning and Design
Before beginning construction, it’s crucial to plan the layout and design of your wooden house. Consider the number of rooms, the size, and the style you want. Draft a blueprint or use design software to create a clear plan. Ensure your design meets local building codes and zoning regulations. If necessary, seek permits before starting the construction process.
Step 2: Gathering Materials and Tools
The materials you choose will determine the durability and aesthetics of your house. Essential materials include:
Timber (cedar, pine, or oak)
Nails and screws
Insulation materials
Roofing materials (metal sheets, shingles, or wooden planks)
Windows and doors
Concrete for the foundation
Tools required include:
Hammer and nails
Saw (hand saw or electric saw)
Measuring tape
Level
Drill
Paint or wood treatment products
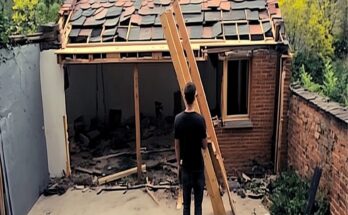
Step 3: Preparing the Foundation
A strong foundation is essential for the stability of your wooden house. Options for foundations include a concrete slab, concrete piers, or wooden posts. Ensure the ground is level before pouring the foundation. Allow time for the concrete to cure properly before moving on to the next step.
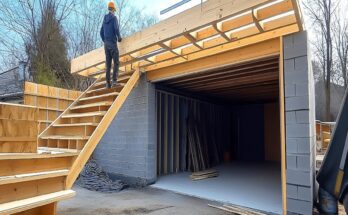
Step 4: Framing the Structure
Once the foundation is ready, begin constructing the frame. The frame serves as the skeleton of your house, supporting the walls and roof. Use treated wood to prevent rot and pests. Start with the floor framing, then move on to the walls, ensuring each section is securely fastened. Install vertical studs at regular intervals and brace them properly.
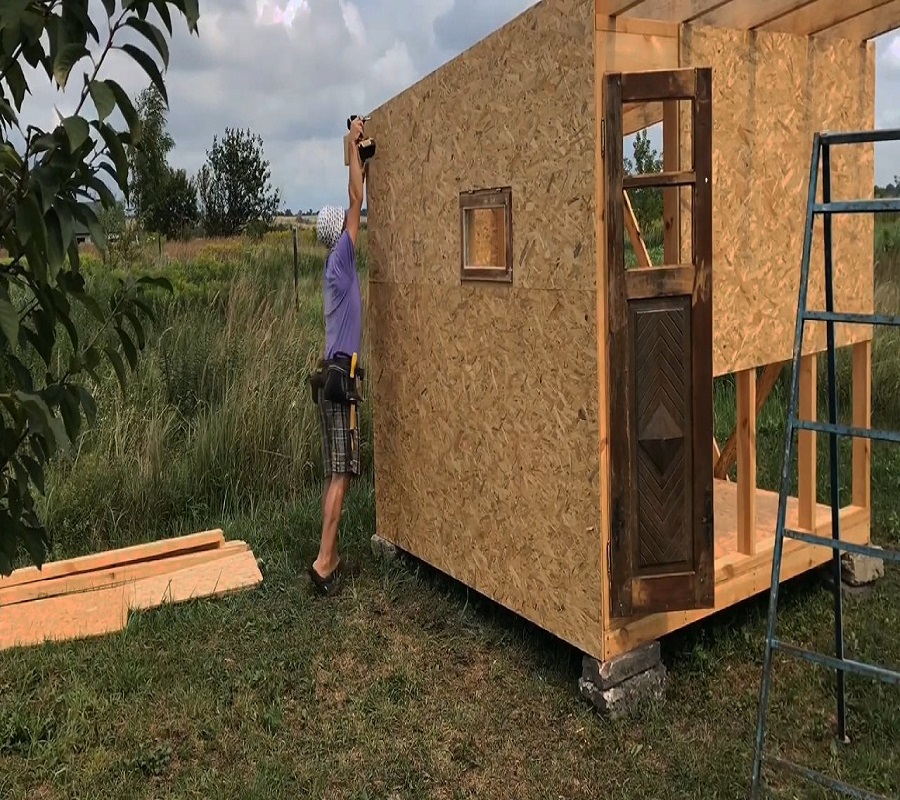
Step 5: Installing Walls and Roofing
Once the frame is up, attach wooden panels or logs to form the walls. Insulate the walls properly to maintain energy efficiency. When the walls are complete, move on to the roof. A sloped or gable roof is ideal for water drainage. Secure the roofing material and ensure it is waterproofed to protect against leaks.
Step 6: Windows, Doors, and Interior Work
Install windows and doors to complete the outer shell of your house. Ensure they fit snugly to prevent drafts. Afterward, focus on the interior by installing flooring, wall paneling, and insulation. Electrical wiring and plumbing (if necessary) should also be done at this stage.
Step 7: Finishing Touches
Apply a protective coating or paint to the wood to prevent weather damage. Furnish your house with essential furniture and decorate it to your taste. If desired, add a deck or porch to enhance the outdoor space.
Conclusion
Building a small wooden house requires careful planning, the right materials, and patience. With proper execution, you can create a beautiful and functional wooden home that will serve you for years to come. Whether it’s a DIY project or built with professional help, the satisfaction of crafting your own home is unmatched.