Building a wooden house frame is a challenging yet rewarding project that requires careful planning, the right tools, and a solid understanding of construction techniques. If you have some carpentry skills and the determination to take on this ambitious DIY project, you can successfully build a sturdy wooden house frame. Here’s a step-by-step guide to help you through the process.
Step 1: Planning and Permits
Before you begin construction, create a detailed blueprint of your house frame. This should include measurements, materials, and structural components. It’s also essential to check local building codes and obtain any necessary permits to ensure your project complies with regulations.
Step 2: Gathering Materials and Tools
To build a wooden house frame, you’ll need:
- Lumber (typically 2x4s and 2x6s for walls, 4x4s for posts, and larger beams for the roof)
- Nails, screws, and metal fasteners
- Concrete for the foundation
- Hammer, saw, drill, level, tape measure, square, and safety gear
- Ladder or scaffolding
Step 3: Laying the Foundation
A strong foundation is crucial for a stable house frame. You can choose between a concrete slab, crawl space, or basement foundation. Ensure the foundation is level and properly cured before proceeding with framing.
Step 4: Constructing the Floor Frame
If your house requires a raised floor, install sill plates on the foundation, ensuring they are anchored securely. Then, lay out the floor joists, spacing them evenly, and secure them with nails or screws. Cover the joists with plywood sheathing to create a solid subfloor.
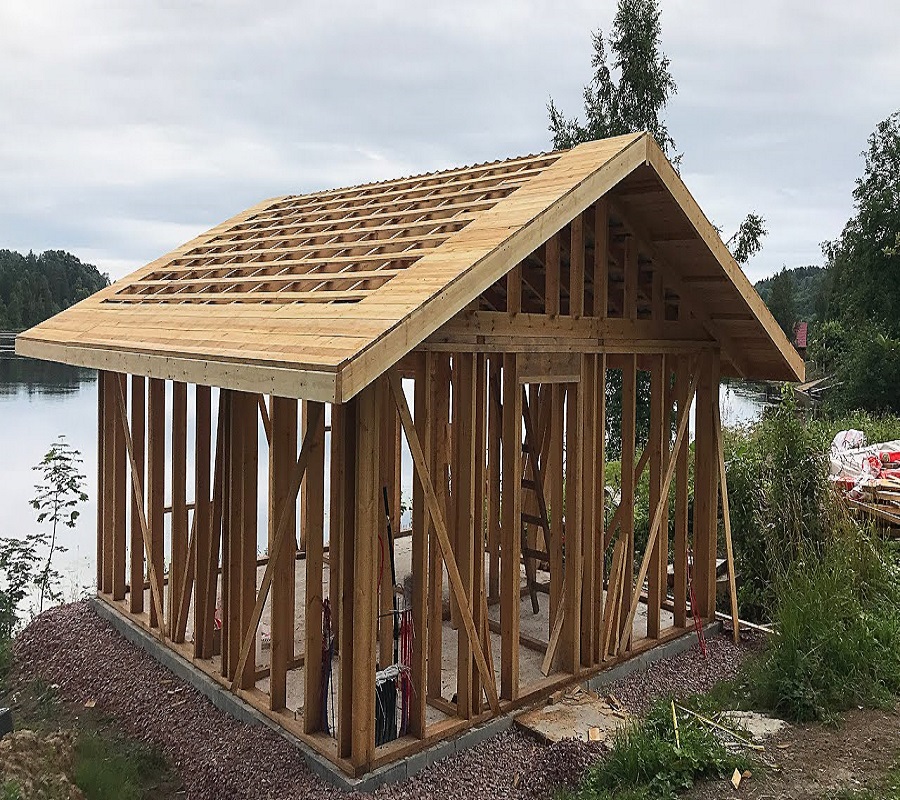
Step 5: Building the Wall Frames
Assemble wall frames by laying out the top and bottom plates and marking the positions for studs (typically spaced 16 inches apart). Nail or screw the studs into place, adding window and door openings as per your blueprint. Once complete, lift the wall frames into position, secure them to the subfloor, and brace them temporarily until all walls are connected.
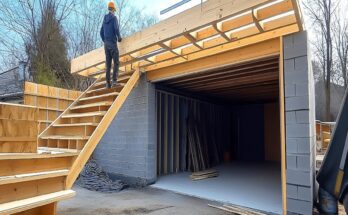
Step 6: Installing the Roof Structure
Once the walls are in place, install ceiling joists and rafters or trusses, depending on your roof design. Secure them firmly to the top plates of the walls. Add roof sheathing (plywood or OSB panels) to create a base for the roofing material.
Step 7: Adding Bracing and Reinforcements
Diagonal bracing helps stabilize the frame and prevent shifting. Use metal brackets and fasteners to reinforce joints and ensure structural integrity.
Step 8: Inspecting and Making Adjustments
Before proceeding with siding and roofing, inspect the entire frame for any misalignments or weak points. Make necessary adjustments to ensure everything is level and secure.
Final Thoughts
Building a wooden house frame by yourself requires patience, precision, and physical effort. However, by following proper construction techniques and adhering to safety guidelines, you can successfully complete this project and move on to the next stages of homebuilding. Always consult a professional if needed, and enjoy the satisfaction of constructing your own wooden house frame!